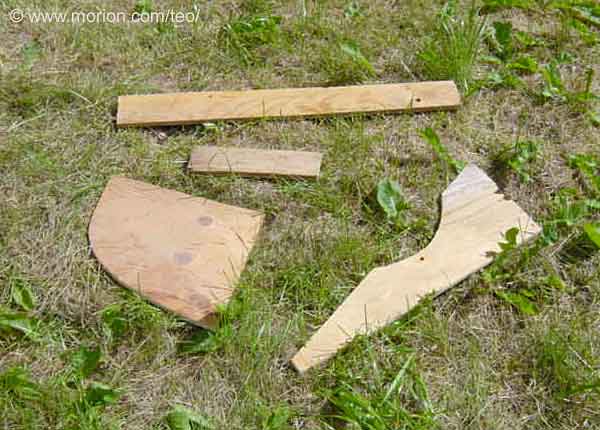
The pieces that shall become shelves For extra stability I attached some pieces of plywood to the back before I arranged the styrofoam. 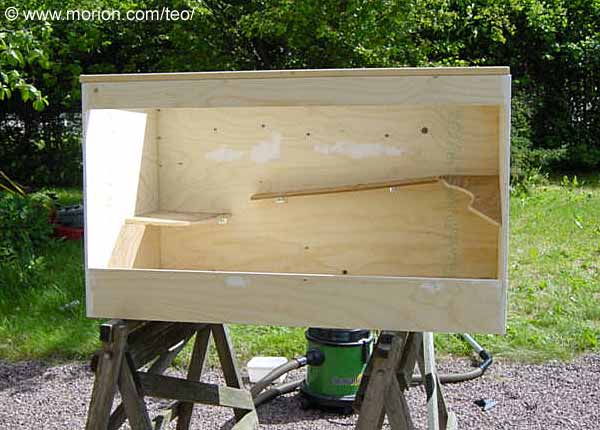
The pieces of plywood screwed on to the back wall 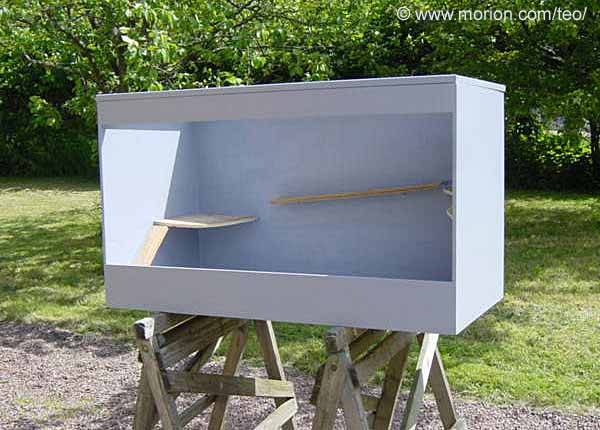
Painting First I used putty to fill out any holes then I sandpapered everything. I painted the cage twice in a non-toxic water based color (ask at the store which one you shall use). Make sure you tell them that you shall paint a cage so you *really get* a non-toxic paint... 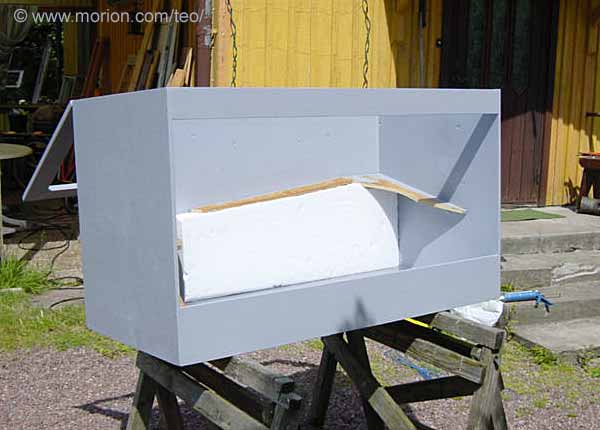
The styrofoam is glued on I bought 4" styrofoam and sawed it into sufficient pieces. I started to fasten the styrofoam underneath the shelves. 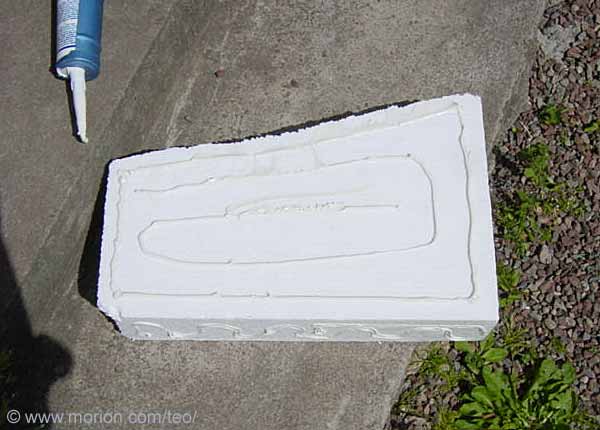
Use a special glue You have to use special glue - otherwise the styrofoam will melt! Ask at the store, which one you shall use. 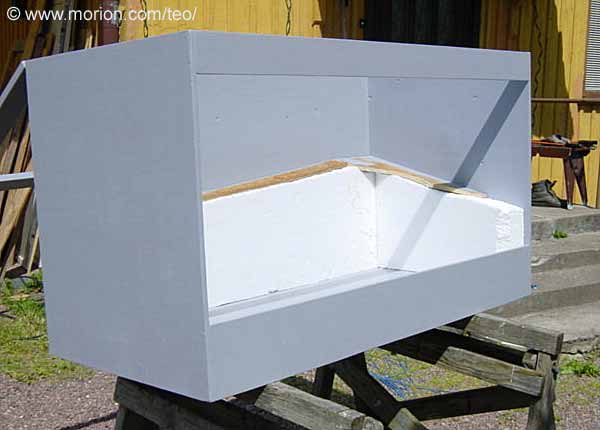
More styrofoam It takes quite a bit of styrofoam when you build a rock wall... 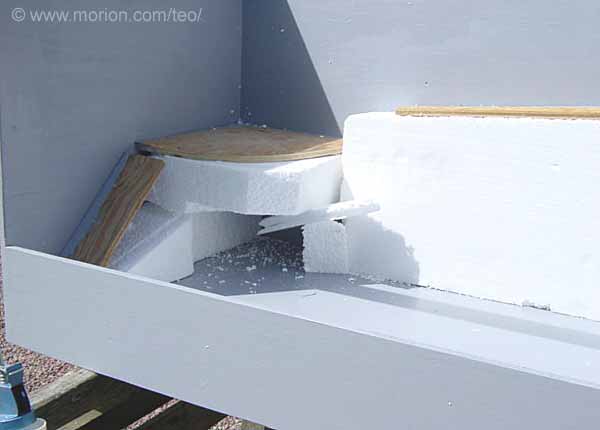
Even more styrofoam..! This will be a cave 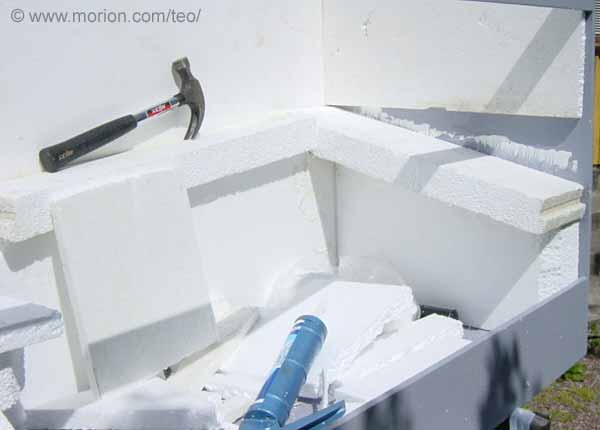
It takes some time... It takes some time (and gets quite messy! ;) to cut and fit all the pieces. Try to do this outdoors if possible otherwise you'll have styrofoam everywhere..! I used different thickness of the styrofoam to create variation. The styrofoam doesn't need to be as thick at the back wall for example. 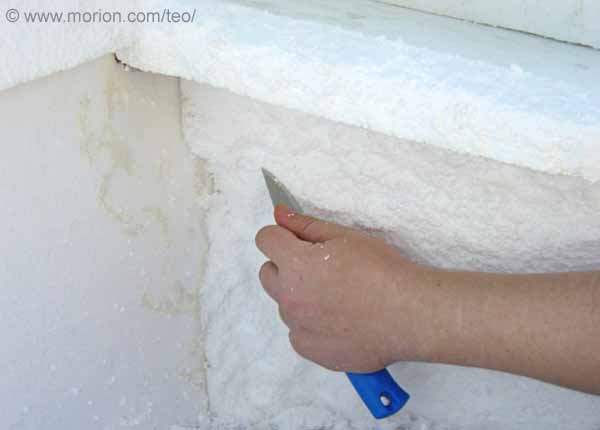
"Scratch" it! When all the styrofoam is securely glued on the back wall at the plywood, and everything has dried for at least 24 hours, it is time to create a "natural surface" that looks like a rock wall. I used a knife and my imagination to create variation in the styrofoam. |
Copyright © Gunilla. All Rights Reserved.
No part of this website may be copied or reproduced without permission.